CAGD 373 Game Asset Production
373 Game Scene Project


During this last sprint we have been working exclusively on texturing. Since our teammate was able to get all the texture sets done before the end of the week, we began working on getting everything textured by next Wednesday. This was the deadline we gave ourselves which leaves us with around 4 days to get everything set up correctly in unity
What we had already known however is that since we had already basically set everything up in unity already, there wouldn't be any extra time needed to fix any errors. Regardless we still decided to give ourselves a few days before we turn it in for a worst case scenario


One of the main issues I was having was trying to help Ryan who was working on the other texturesets
Our progress in Trello was definitely on pace to be finished before next Wednesday, however this depends on whether or not everyone is able to follow schedule. Given that we do, we should have textured everything and handed it over to unity in order to add materials to each individual model

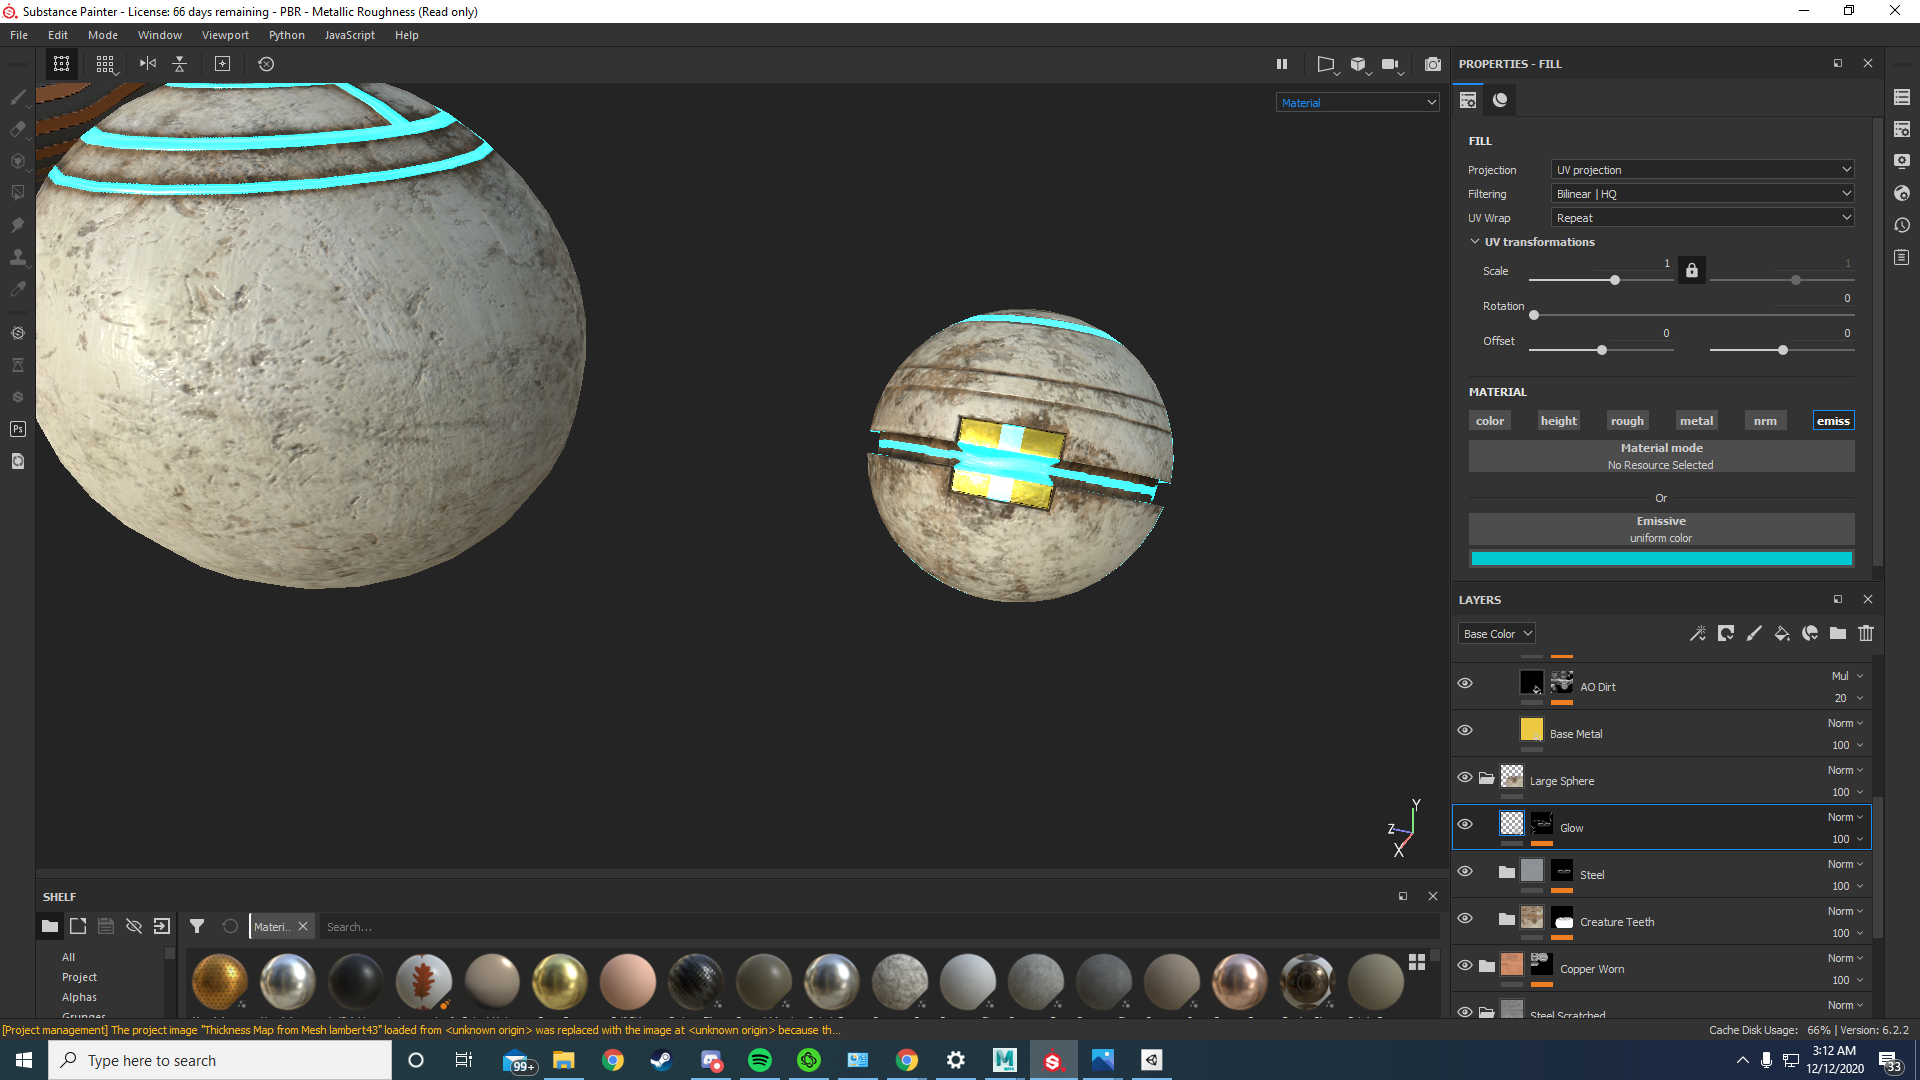
I ran into alot of weird issues in painter, I was unable to bake down some of these ID maps correctly, although I felt I created them correctly. I made sure they were locked in the same position as the high and low poly to bake properly, yet it wouldn’t bake all the colored materials in there, but rather just the entire body of the sphere only. I couldn’t figure this out and needed some help with it. My classmate Ryan was also running into a similar issue where not all lambert materials would bake onto his model. I made an attempt to figure out why and noticed, it was only his painter that would have this issue. When I tried it with the exact same settings it would work on mine. Needed to get some extra from an instructor for this,


The last week during thanksgiving in my experience was a bit more hectic than usual for our teammate who volunteered to finish the texture sets. This was mainly because, everyone who turned their model's UVs forgot some very important steps. To freeze transformations, delete history, and also zero out the position of every model in order to get ready to be baked in substance painter. Fortunately our teammate was kind enough to make the corrections for us. Which might've messed with our schedule a little be yet not a whole lot since our Unity is essentially ready.


begin the texturing process which we predict will be done by the following Wednesday
Overall we're on track to finish a bit early than the due date, however we still allowed ourselves a few extra days just incase we run into any unexpected errors.
During the 5th week and 3rd sprint of the project our Trello board began to see a lot of progress in regards to finishing up the modeling portion of the assignment. During this sprint we had made plans to finish the last of our models and to get them into our team member Jake, so he could layout the UVs accordingly for the texture sets in the following sprint. We didn't seem to run into many issues involving catching up with previous sprints, however one teammate did seem to be falling behind since the earlier sprints began to pile up in the assigned folder.
Since Veterans day kept us from getting our eportfolios checked in week 5, we were allowed to create one bigger post involving progress in both weeks. Shown below is the Trello board during our 5th and 6th week or our 3rd and 4th sprint.


I couldn't figure out how to make the faces that I pushed inwards above the model continue smoothly over the edge of the model. I will have to get a bit of help from the instructors to figure this problem out since I couldn't figure it out myself.
During the 2nd sprint the trello board didn't see as much activity as sprint 1, however after checking in with the rest of the team on Tuesday I had seen the progress that was made, but they forgot to add screenshot attachments and to move their objective to the verify tab. During my time on Trello I had assigned sprint 3 objectives, but I have yet to add new cards since we are still working on the modeling portion of the assignment. Considering we still have over a month remaining to complete our scene we haven't fallen that far behind, however we still are falling a bit short of completing our sprints the week they are assigned. Nonetheless we will aim at hopefully completing them quicker moving forward. Shown below is the trello board.

For this week I had decided to make a meeting time for my team to make sure that we were all on track and on the same page. I had first scheduled it with two of my 3 teammates on Saturday but I had found myself busy with something else and missed it by mistake. The last group member Jake, had agreed with me to meet on another time because our Saturday meeting time didn't align with his schedule. What I had decided I may have to do to get us on track more is to maybe even share the work with whoever may be falling behind considering not all of our modeling skills are the same, some members may require additional help from the rest of the team. Shown below is the second half of the completed sprint 2 list.

My portion of the second sprint involved working mainly on the last couple modular blocks as well as the waterfall and sphere. Unfortunately I wasn't able to get done as much as I anticipated since my other classes required a lot from me the past week, although I did make good progress I felt. Shown below is what I had worked on for the week.


Week 1 - 2 Progress
In this first week, as a team of four, we were tasked with creating a game scene from destiny. We decided to split the workload amongst whoever was most comfortable doing what. This way we would avoid having to waste any time and work much more efficiently. The Scene we decided to take reference from is a level on the planet Mercury. Shown below are the areas that we tried to replicate.


When creating my part of the modeling portion I used Maya while my teammate utilized Unity's ProBuilder. When in Maya I wasn't too sure what the poly count would look like after detailing the models, this led me to question whether what we already have is enough. Shown below is a screenshot of everything so far put into unity.


Once we have decided what orientation we will end up with, we have decided to make the boundaries of our game scene cliffs all around, considering there is a part of my model that drops like a cliff. After this we will move onto creating more High poly modular models that we can place around the level. Shown below is a screenshot of the Trello board showcasing how we're organizing the project amongst team members.

In regard to our roles in the group, I've taken the role of the team lead where I will make sure everyone is assigned a specific role and is staying on task to meet every week's deadline requirement. We will keep track of everything over Trello, a project management website. This is the first time I've used Trello so it took a bit to understand the basics of it, thankfully my teammate Jake was more familiar and could help me set it up. After a few walkthroughs I eventually figured it out and will try keeping it updated and posted by next week now.
Object List
Sphere 1 (low and high)
Sphere 2 (low and high)
Triangle pyramid portal (low and high)
10 Props (low)
Section 2
Surrounding Wall (low and high)
Waterfall piece (low and high)
Stair pieces (low and high)
Modular Pieces
Blocks (5-10 versions) (low and high)
Columns (3 versions) (low and high)
Donuts (low and high)
Stairs (4 versions) (high)
373 Micro Tower Scene
For the Micro Tower Scene assignment our objective was to create a tower base with three toppers that would sit on top of the tower, meant for a tower defense game where the camera is top down at a 45 degree angle. These models will be UV'd ID'd and textured in substance painter, along with 4 low poly props of our choosing. Lastly, all models and textures will then be imported into unity to place in a scene where we utilize the terrain editor for the first time. Below are screenshots of the models in the Maya scene.


Overall my process throughout Maya went fairly smooth. I spent the most time trying to balance out the poly count between my tower base and all three toppers, so I'd meet the maximum requirement of 2500 (low poly) 5000 (high poly) and 500 per low poly prop. Creating the ID map before I went into painter was the last step. Shown Below are my ID maps for all my models, excluding the four props.


One of the main problems I had after the texturing process was simply being able to import my models and textures into Unity. Although I had created my environment already and had it ready to just insert my models and textures for the finishing touches, for whatever reason Unity was not accepting them. I'd receive an error message shown below alongside my scene. (Failed to import package with error: Couldn't Decompress package)

Aside from not being able to figure out this error, I'd say that I was happy with the results of the look I was trying to achieve with my tower and the toppers. Unfortunately I couldn't showcase them within my Unity scene but I'm sure there is a simple fix to this error that I will try and figure out in order to complete the project on my own.
Scifi Hallway
In this assignment I ran into a bit more problems than I originally anticipated, however I did complete a good portion of it. Beginning with the modeling portion of the assignment, one of the things I had realized too late was that I spent way too much time trying to model the perfect Scifi hallway. The reason this was a problem was because later on when I had tried to bake the mesh maps and make ID maps I was confused and ran out of time before I could get help. Given the fact that my car broke down and kept me from getting back to Chico (where my PC) in a timely manner the week before it was due, I seemed to have fallen behind. However, I did makeup for as much work as I could while I was back at my PC.


Shown on this link is a YouTube video showcasing the work done. https://youtu.be/okCgpdA1vUI
Below is a teaser of the beginning of the hallway.

The assignment was meant to showcase not only modeling skills, but texturing skills as well. Unfortunately since I wasn't able to complete the texturing in time I wont have much to showcase other than what went wrong in Substance painter. Shown below is before I attempted to bake the High poly mesh onto the low poly mesh.


As much as I was familiar with Substance Painter I haven't done any baking in this program for some months, so I must've been missing a crucial step aside from the ID maps.
Comments
Post a Comment